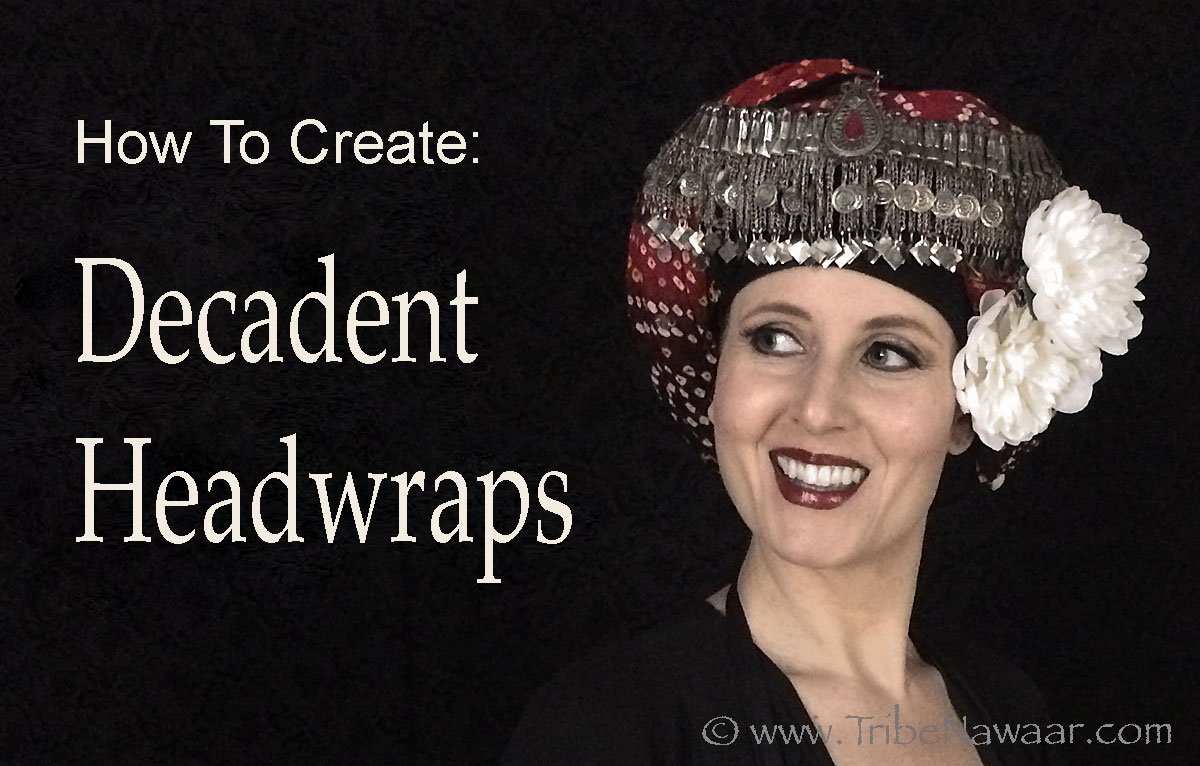
Headwraps are worn throughout the world by both men and women alike. They can be simple in design and purpose to extremely elaborate and symbolic.
In this post I’ll go over how to create decadent headwraps like the ones used in the early days of this dance form.
First, both ‘headwraps’ and ‘head wraps’ are correct. I will interchange the terms throughout this post.
A Little Background/History:
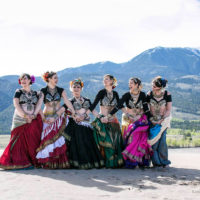
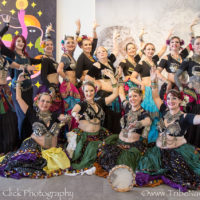
 Back in 1989, when I took my first FCBD®Style (also known as ATS or American Tribal Style) class in San Francisco I fell in love with the power, presence and poise of the dancers and the ultra lush costuming. The look was all about the heavily layered jewelry, big skirts, tassel belts, choli tops and, of course, that famous head wrap! I spent many hours practicing to get it looking just right and have always had a fondness for their transformative powers.
Over the years head wraps were gradually replaced by hair gardens in popularity. However, during a recent costuming lecture, Carolena Nericcio, the director of FCBD and founder of this dance form, expressed her love for the old school ‘turban’ and a resurgence of interest in the art of head wrapping was created.
I usually dedicate a brief section of my Stage Makeup & Hair Workshop to covering the old school headwrap for historical reference. I find the art of head wraps can be relatively intuitive once one knows the basics. So, I decided to write this quick how-to guide for for anyone else who may also want to experiment with creating head wraps.
I hope you find it helpful!
Jennifer
 How To Create Decadent Headwraps:
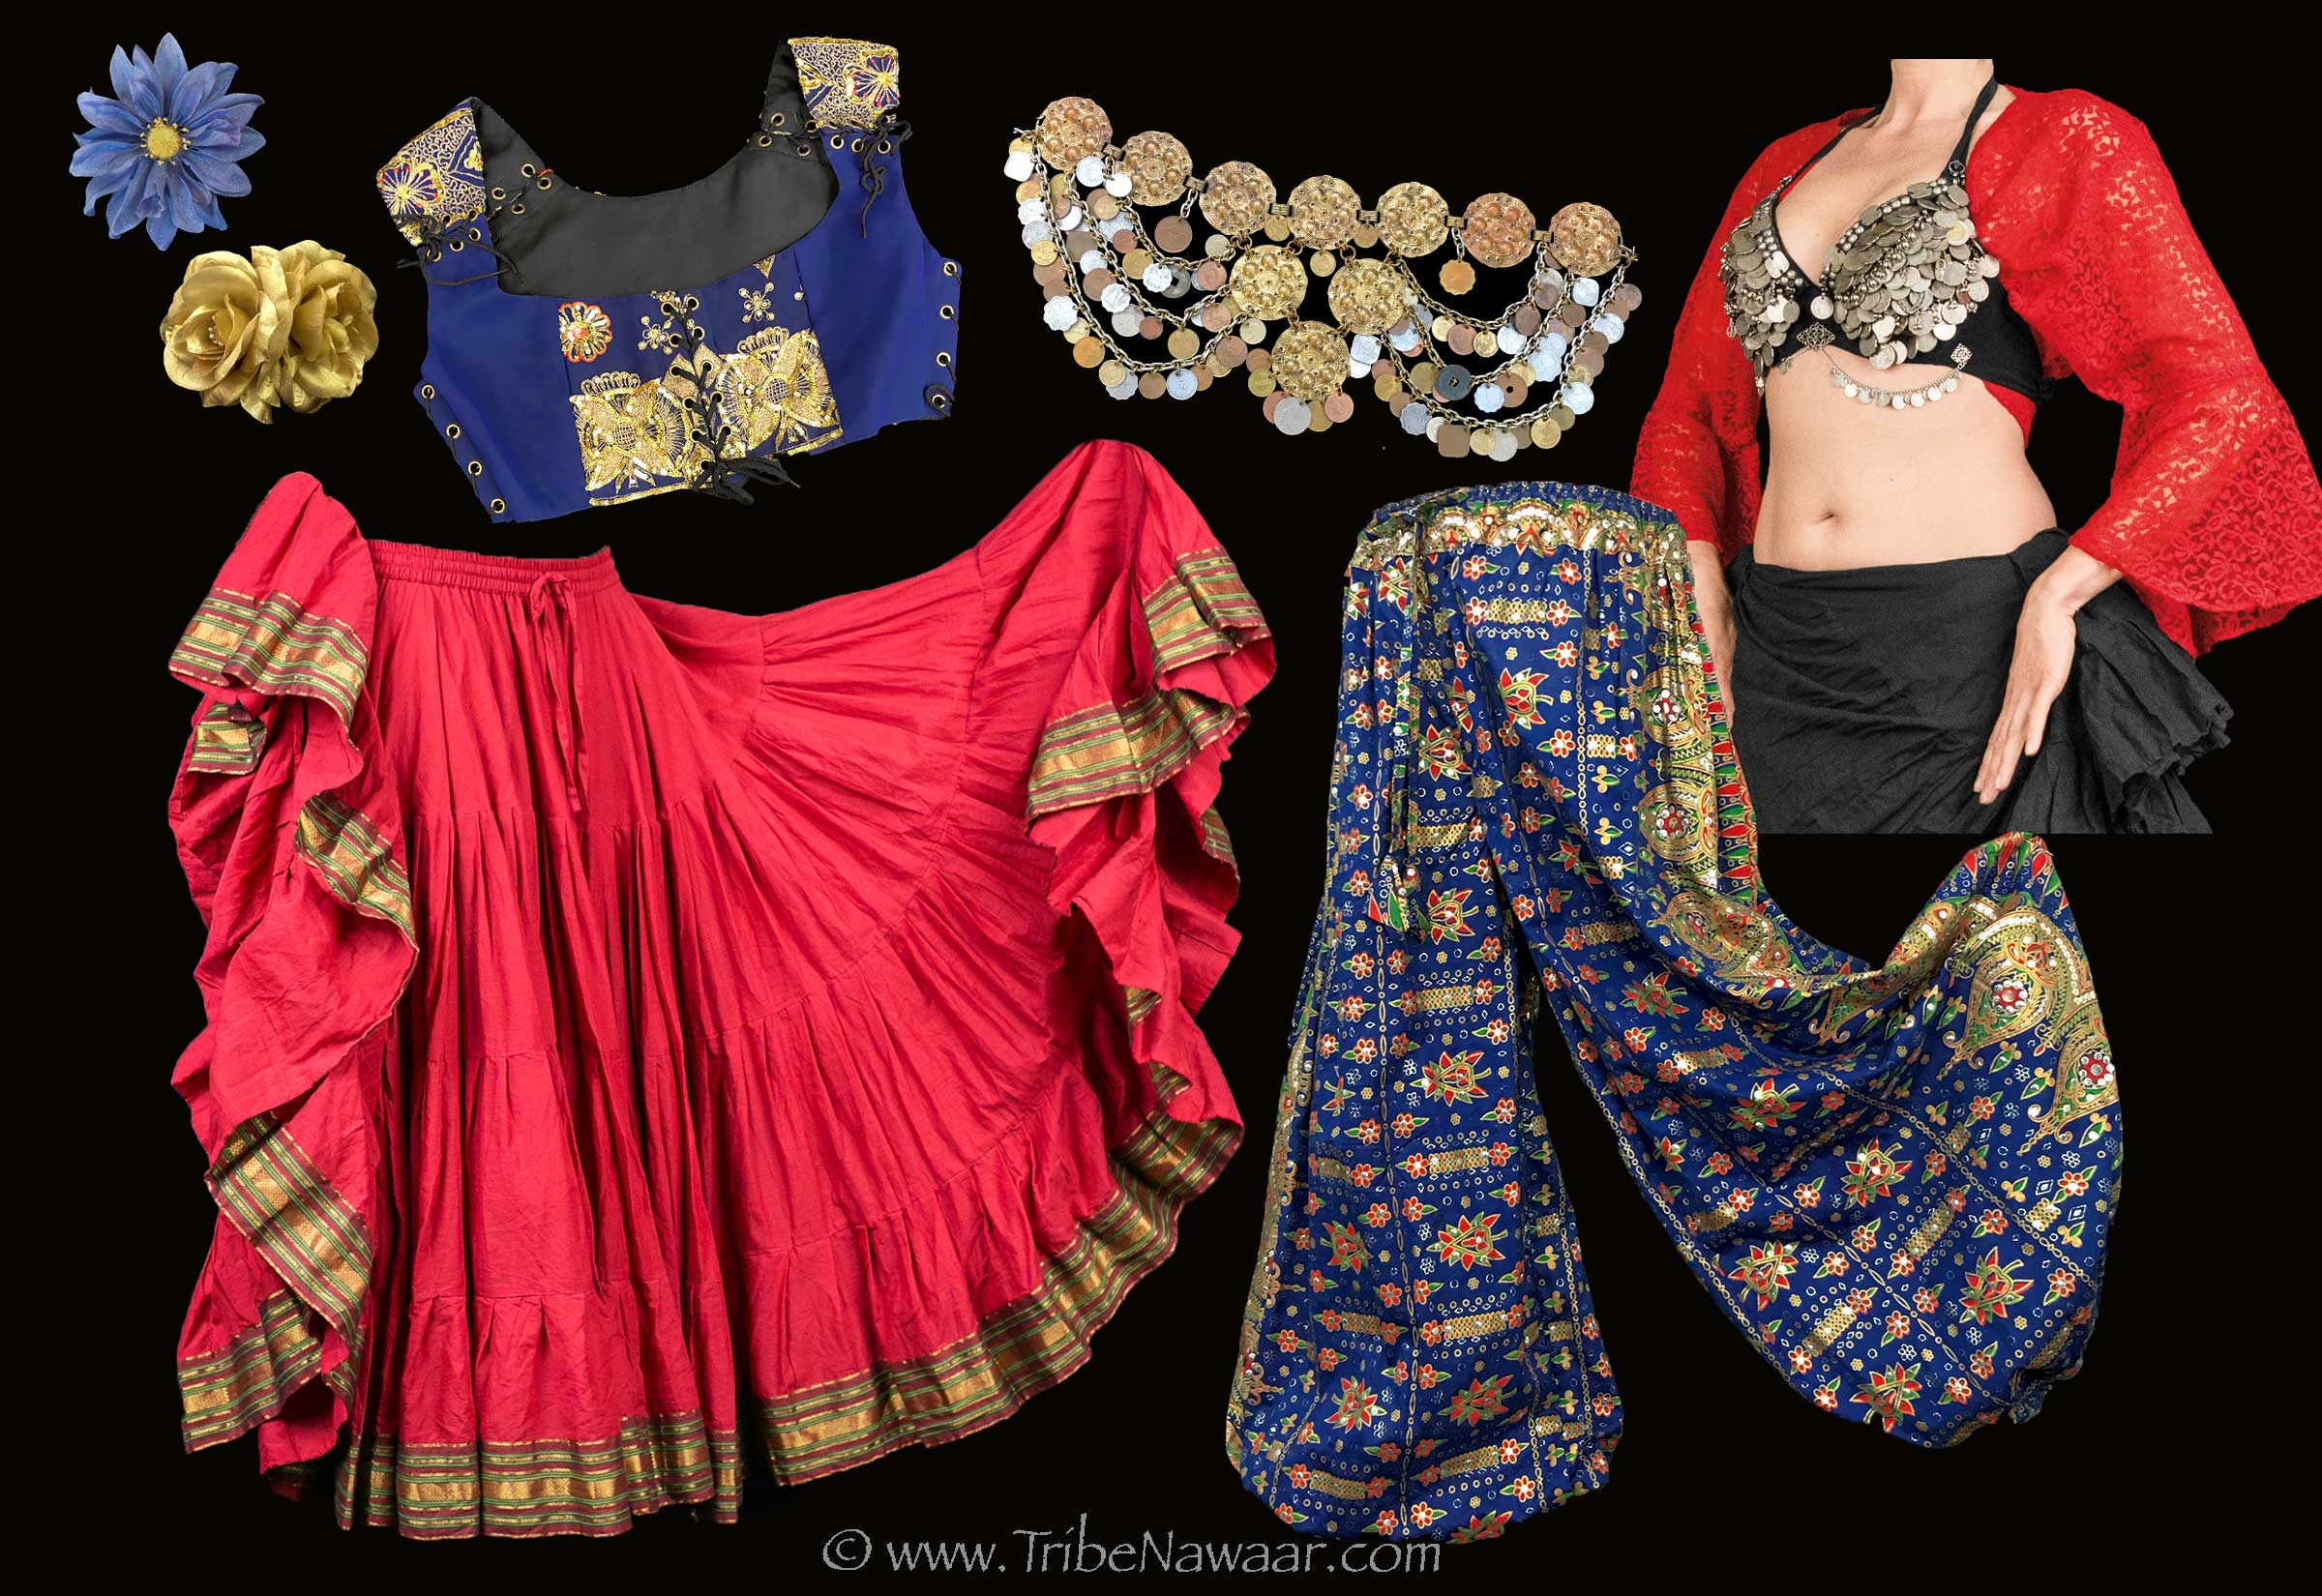
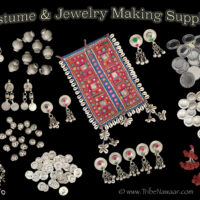
Start with one embellished bandhini wrap and a long black rectangular base fabric (about 2-3′ wide by 4-5′ long) for a base. I’ve used a variety of fabric styles for the base, from raw silk to basic cotton-lycra (t-shirt) fabric with equally good results. I’d say experiment with the size and fabric to find the one that suits your need for overall size, weight, stretch, tooth and breathability.
1. Prep Your Hair

Pull the hair back or use a wig cap so that the hair doesn’t get twisted in the fabric. If you have long hair you can leave braids hanging down the back of the neck, as well.
2. Position The Base Fabric

Take the long center edge of the base fabric and position it at the front center of the forehead, just above the brows. If your fabric is extra wide, fold it in half, first.
3. Secure The Base Fabric

Wrap the long ends around to the back and tie once. You can also do this the opposite way: starting at the back and wrapping to the front. I have found that it depends on my mood that day as to which way I prefer.
4. Roll, Twist & Wrap

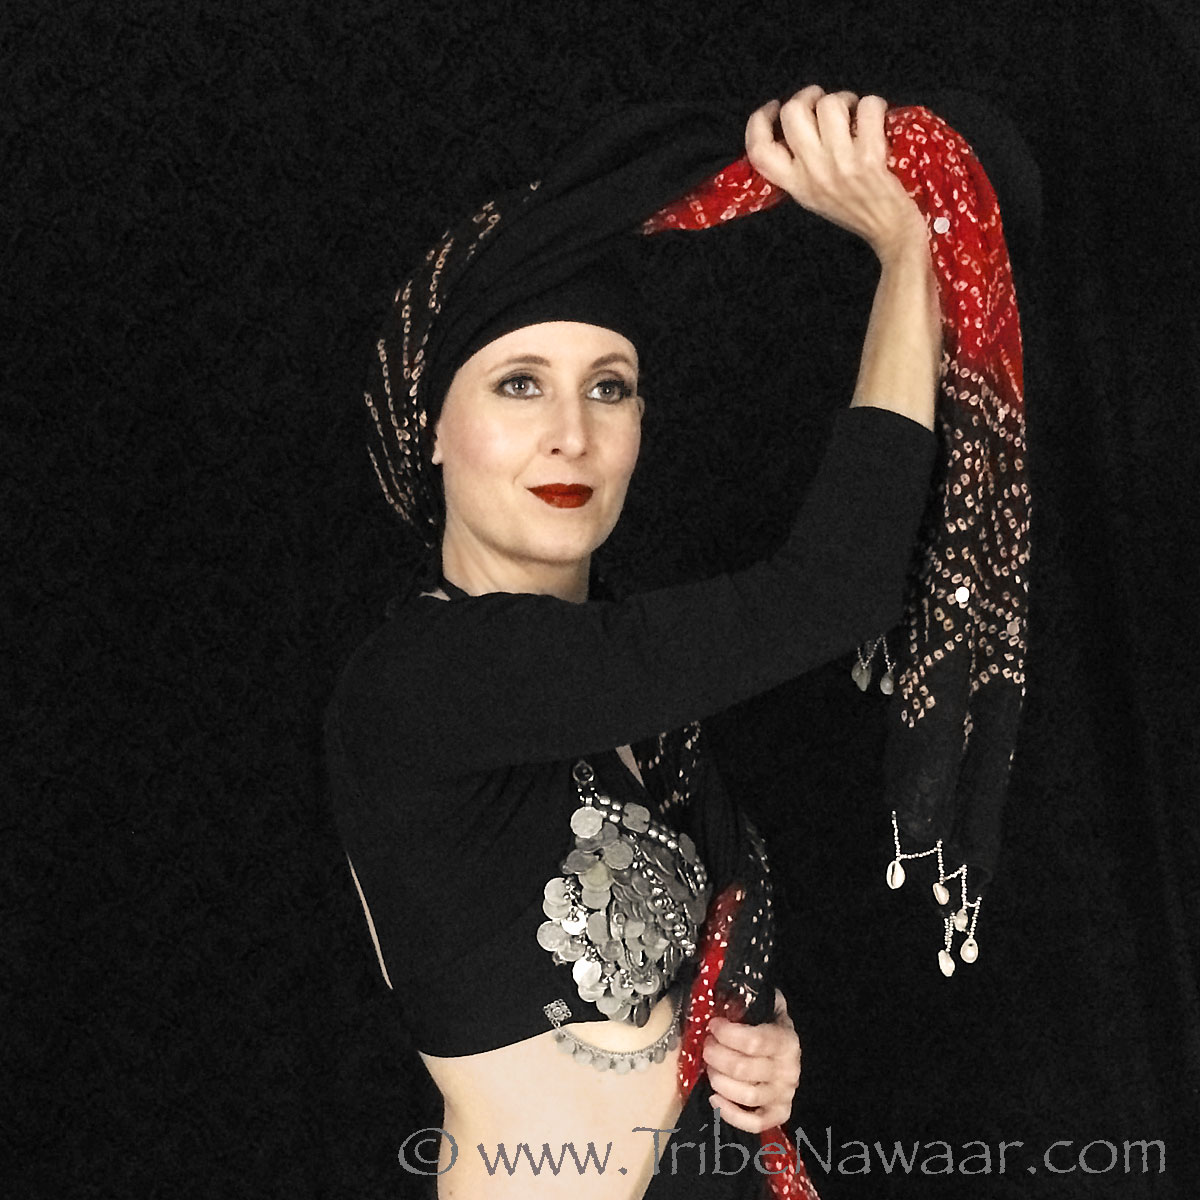
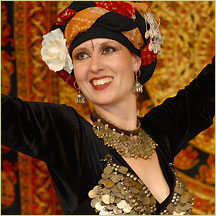
Roll the bandhini wrap into a long flat tube and lay it across the back of the neck along the long ends of the base fabric. Gently twist the base fabric and bandhini wrap together. Snugly wrap this twisted conglomeration around head, strategically placing the mirrors, beads and other embellishments to show off all their beauty.
5. Cross At Front, Optional:

If you want a basic round shape to your head wrap, simply wrap the long left and right ends until they completely encircle the head. If you’d like to have a higher center accent arch at the front take the long twisted left and right pieces and cross them in the front so that each pieces goes back in the direction it came from.
6. Tuck & Secure:

Tuck the ends of the base fabric in among the folds and use pins to secure. Pins should be placed carefully in thicker sections of fabric especially at junctions where th ends are tucked. This will help prevent the wrap from unraveling. Using a bandhini with beaded ends? They can be tucked into the folds or splayed out between the folds (as pictured in the photo above). This shows off their decorative beading and adds interest to the headwrap.
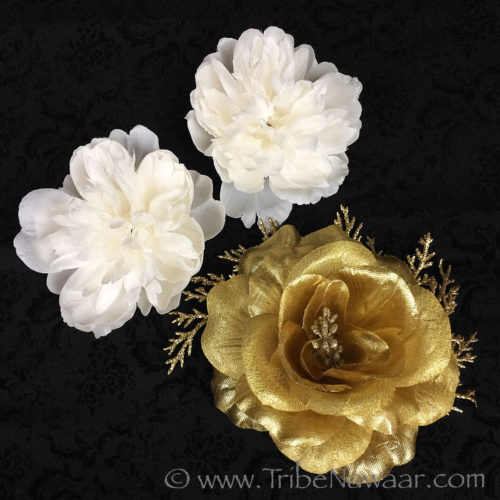
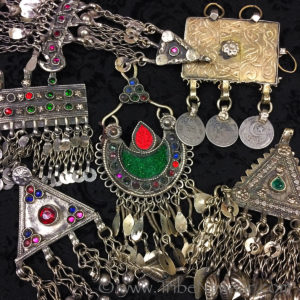
Adding Additional Embellishments
The bandhini is so decorative on it’s own that you do not need to add much else to make it stage ready, however, many dancers enjoy layering jewelry and flowers to create a magical work of art. Here are some basic tips that I have found thru trial and error:
Flowers:
Jewelry:
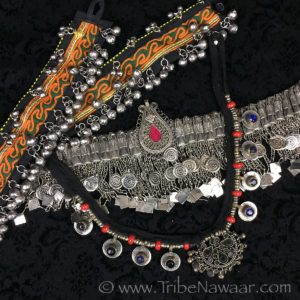
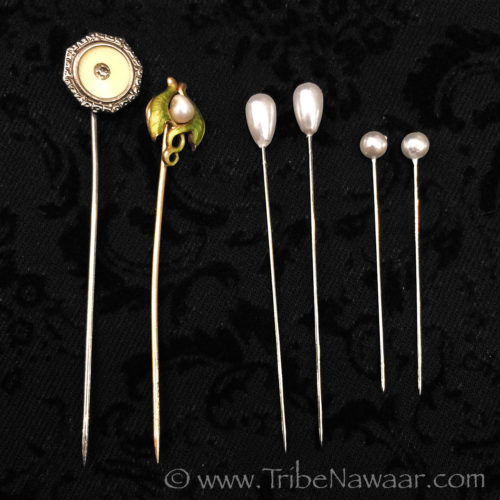
Pins Assortments:
In Closing
Although this article is written with the idea of using them in performances head wraps are also beautiful for daily wear. There is a good book by New York Times writer, Georgia Scott ‘Headwraps’ that chronicles her travels around the world documenting headwraps in all their diversity. The book features many color photos showing a huge range of sizes and styles. There are not any step by step instructions, per se, but, perhaps after using the basic guide above to get you started you’ll be able to deconstruct some of these wraps for yourself.
I hope you enjoyed learning how to create a decadent headwrap. If you have any questions, don’t hesitate to ask!